 |
||
|
|
||

Bestsellers
New products |
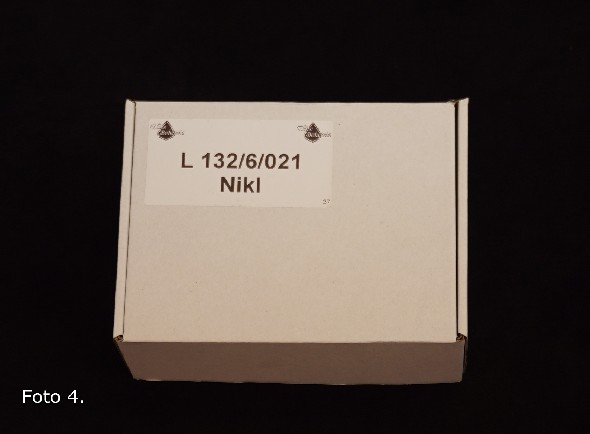
How to assemble the crystal chandelier How to assemble the Elite Bohemia crystal chandelierBelow we present, in a few simple steps, how to assemble the Elite Bohemia crystal chandelier. The guide can be used to mount small chandeliers (6-10 arms) as well as large ones with more than 12 arms. We will present our assembly demonstration using the example of the six-arm chandelier L 132/6/021. It is a small six-arm chandelier - 6 light bulbs, decorated with Czech Bohemia crystals. These instructions also apply to the installation of Elite Bohemia chandeliers with Swarovski Spectra crystals. Each chandelier is packed in original Elite - Bohemia cardboard and secured with tapes (photo 1).  STAGE 1 - Preparation for assembly 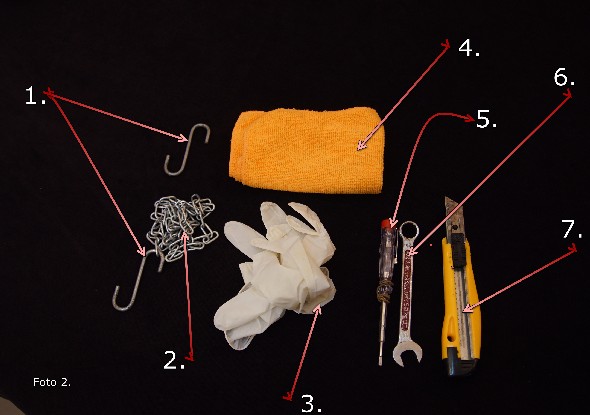 After unpacking the cardboard box, carefully remove its contents. The chandelier elements are tightly lined with paper and packed in groups. All structural elements have been packed separately: column, bulb holder arms and crystal elements - chains and crystals. 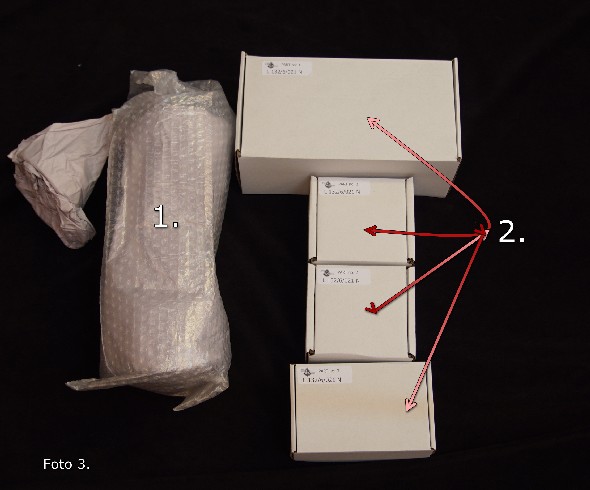 photo 3. (1. chandelier column 2. structure elements)
In the box there is also a technical drawing of the chandelier (Photo 5). We keep the diagram as close as possible to the installation site, so that you can look at it at any time and check whether the construction elements are installed in the right place. 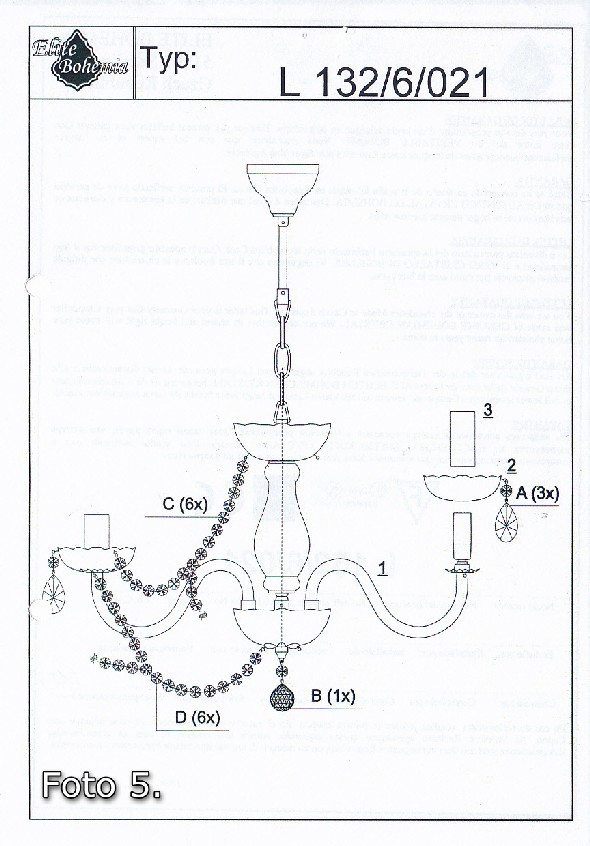 STAGE 2 - Installation of the structure The next stage is to prepare the place where we will assemble the chandelier. It is best to hang the lamp column on a previously prepared chain, which we attach to the hook in the ceiling. It may be the hook which the chandelier will eventually hang on when assembled. The length of the chain is adjusted in such a way that you do not have to climb the ladder when folding the lamp (Photo 6). 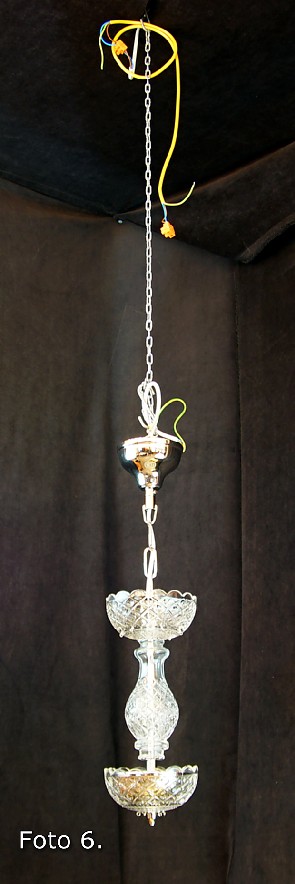 After hanging the column, we prepare it for arm assembly. The nut at the bottom of the column shall be carefully unscrewed (photo 7). 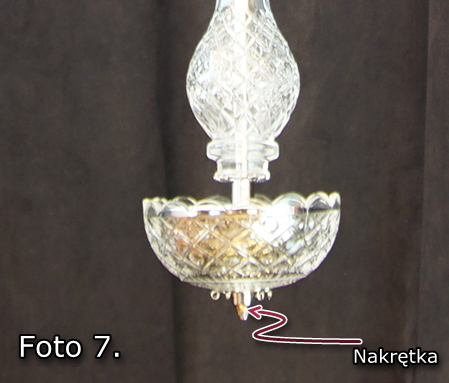 Carefully remove the glass shade and other components. Under the shade there is a metal cover, which we also take off. After dismantling the column elements, all that remains is a round plate with holes for screwing on the chandelier arms (Photo 8). 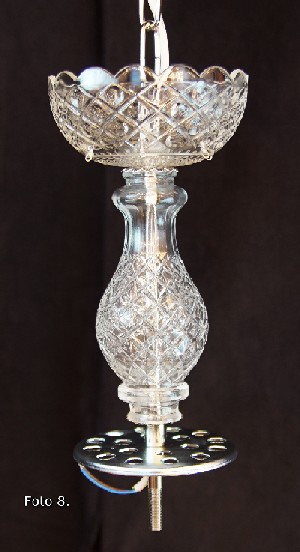 Unpack the chandelier arms (marked "1" in the diagram) and screw them to the column using the "14" key. The arms are mounted on opposite sides in pairs as shown in photo 9. 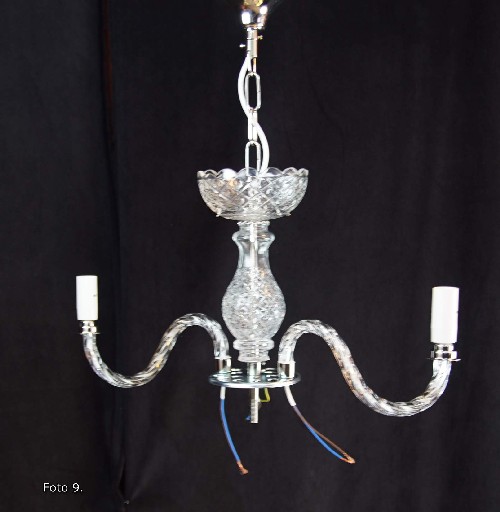 After screwing on all the arms (Photo 10), connect the electrical wires in the cube according to the colours. Combine the blue wires into one group, the brown wires into another group (Photo 11). 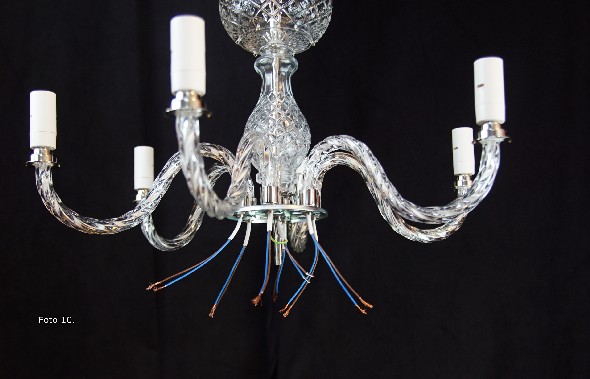 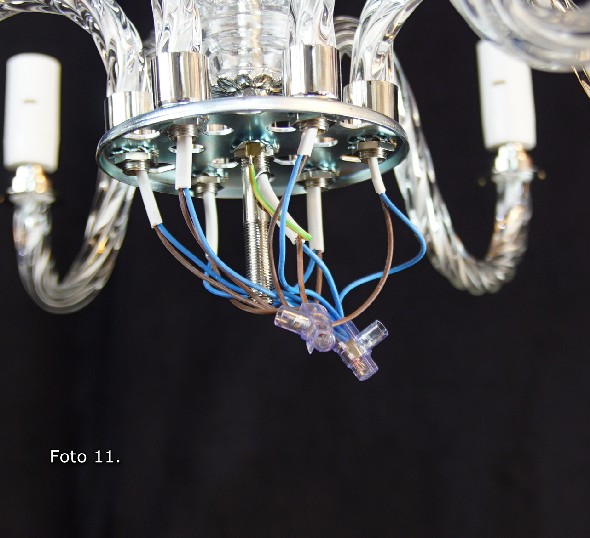 After connecting all the wires, we attach the elements of the column that we disassembled earlier. The fully assembled lamp is shown in Photo 12. Stage 3 - Installation of the crystal elements 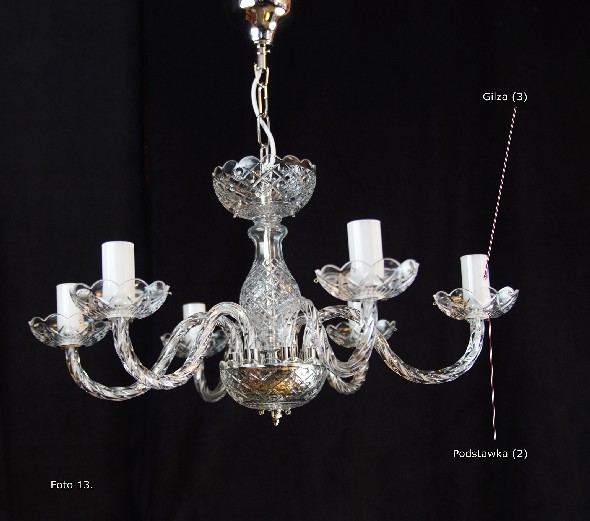 Only now can we start putting on crystals and crystal chains (Photo 14 and 15). The places of installation of the crystal elements are indicated in the diagram attached to the lamp (Photo 5). 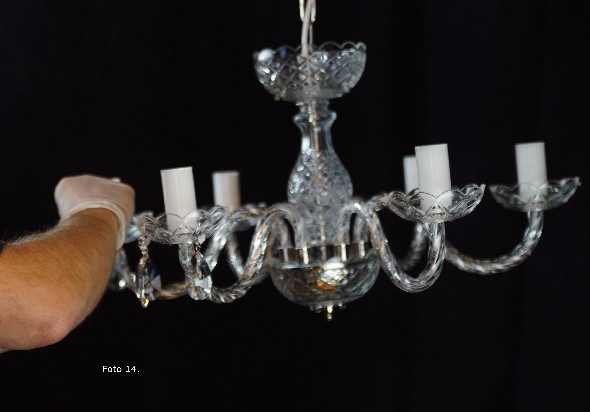 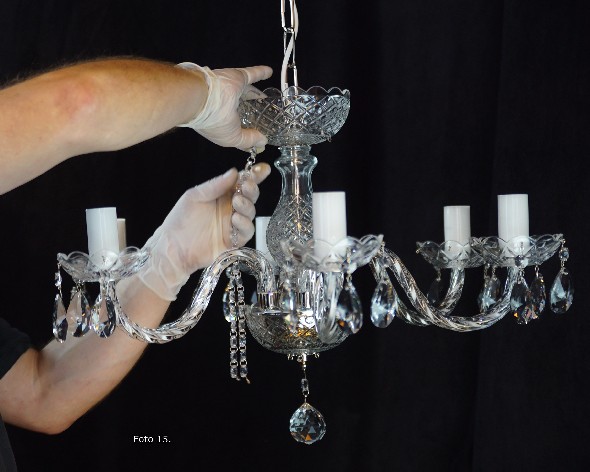 The crystals used for decorating the chandelier have been grouped by the manufacturer and marked with letters (A, B, C...). We put them on according to the order of the alphabet. After assembling the column, decorating the chandelier with crystals is an easy and pleasant activity âş After assembling all the elements, a chandelier ready to be hung e.g. in the living room should look like in Photo 16. 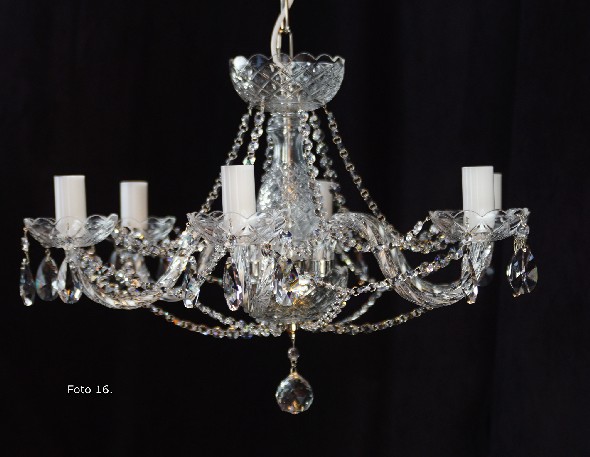 The structure of the crystal glass chandelier and the crystal elements decorating the chandelier are exposed to the daily factors causing dirt. To keep the crystals shining, it is worth spraying the lamp with an American substance Sparkle Plenty right after installation. It is perfect for cleaning and maintaining crystal chandeliers. |
|


